The student printer is located on the 1st floor of the main building. See the map here.
For information on printing, copying, and scanning at Campus Kristiansund, see the last point.
To log in to the printer with your student card, you must first link the card to your user account. See information in the menu below.
It costs money to print and copy documents. Therefore, to use the solution, you must add funds to your print account. See information below.
The easiest way to print a document is by using the browser on your device. However, this method has limitations, including automatic color selection and double-sided printing.
To change this, you need to install the printer's software on your PC. See information about the two printing methods below.
You can also use the printer to copy and scan documents. Scanning is free. See the second to last menu option for more information.
How to log in to the printer with the student card
To log in to the printer with your student card, you must first link your student card to the printing system. This is done as follows:
Hold the card against the field marked "Card Reader" on the right side of the printer.
Enter your student number and password. To get a capital letter, press the "Shift" button at the bottom right of the on-screen keyboard.
Then press the "Log in" button on the printer screen.
The next time you log in to the printer, it is sufficient to scan your student card. You do not need to enter user information.
If you do not want to enter your student number and password, you can use an activation code.
You can find this by logging in with your student number and password on the website print.dmmh.no
If the number code in green text is not visible, click on "Generate card activation code"
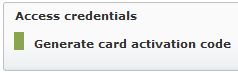
Enter the code in the "Activation Code" field on the printer after you have scanned your student card. You then do not need to enter anything in the fields for username and password.
Payment and Prices - How to Add Funds to the Printing Account
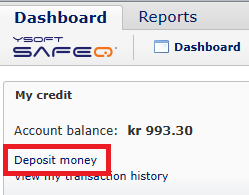
To print documents, you must add funds to your print account. This is done by first logging in to print.dmmh.no with your student account.
Then click on "Deposit money" at the top left.
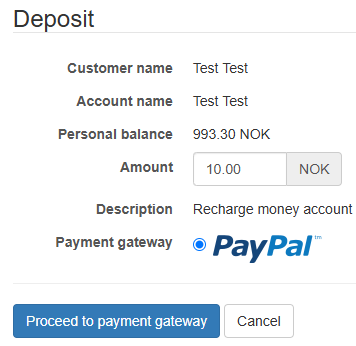
Select how much you want to add to your print account. See the prices at the bottom of this guide. Then click on "Proceed to payment gateway" and "I agree" in the window that appears.
You can then choose whether to log in with a PayPal account or pay with a credit card.
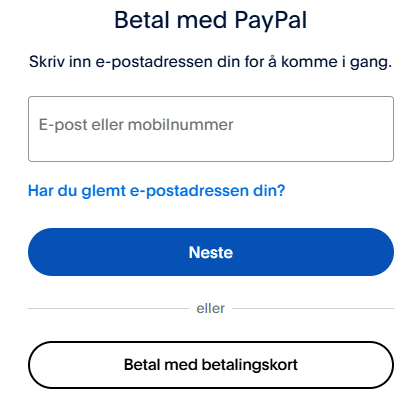
You must provide an email address even if you choose to pay with a credit card.
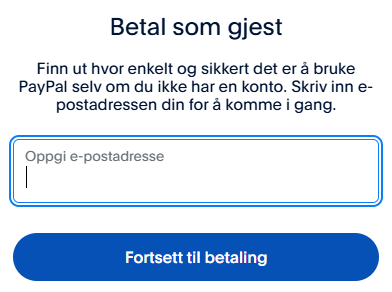
Fill in the fields for card information. If you do not want to create a PayPal account, uncheck this option.

Then click "Continue as guest" and log in with BankID.
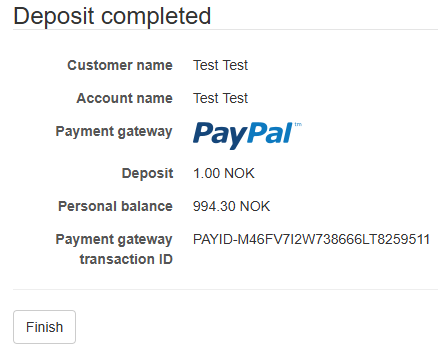
You will finally receive a confirmation that the payment was completed.
Prices
- Each A4 page costs 0.40 NOK in black and white and 1.20 NOK in color.
- Each A3 page costs 0.80 NOK in black and white and 2.40 NOK in color.
- A4 paper costs 0.10 NOK each
- A3 paper costs 0.20 NOK each
- Scanning is free
Printing - Copying - Scanning at Campus Kristiansund
The system is called myPrint and is operated by the IT department at Molde University College.
Before you can start using the solution, you must:
1) Create a myPrint user here: https://myprint.himolde.no/RicohmyPrint/ClientCreate.aspx
2) Add money to your print account by selecting "Buy credit" here: https://myprint.himolde.no
Printing
Log in here: https://myprint.himolde.no
You choose files to print by either "Drag and drop" or "Browse". Then select "Print".

You collect your printout by logging in to the printer in the library. See map here: 3-C08-02
Logging in to the printer
You can register your DMMH student card to log in to the printer.
Do this by holding the card against the printer's card reader.
Then enter the primary pincode and secondary pincode, which you received in the welcome email from myPrint.
If you cannot find the primary pincode and secondary pincode, you can have new ones sent by selecting "Change primary pincode" here:
https://myprint.himolde.no/RicohmyPrint/ClientProfile.aspx
You can also use the primary pincode and secondary pincode to log in to the printer.
Unfortunately, you cannot use username/password to log in to the printer.
Copying
Log in to the printer
Place the original(s) on the glass plate or in the document feeder
Select "Copying"
Choose 1 or 2-sided, black/white or color
Select "Start"
Scanning
Log in to the printer
Place the original(s) on the glass plate or in the document feeder
Select "Email"
Choose 1 or 2-sided
Select "Send"
User support / support
The IT department at Molde University College provides user support for the solution. Contact information here: https://www.himolde.no/tjenester/it/kontakt